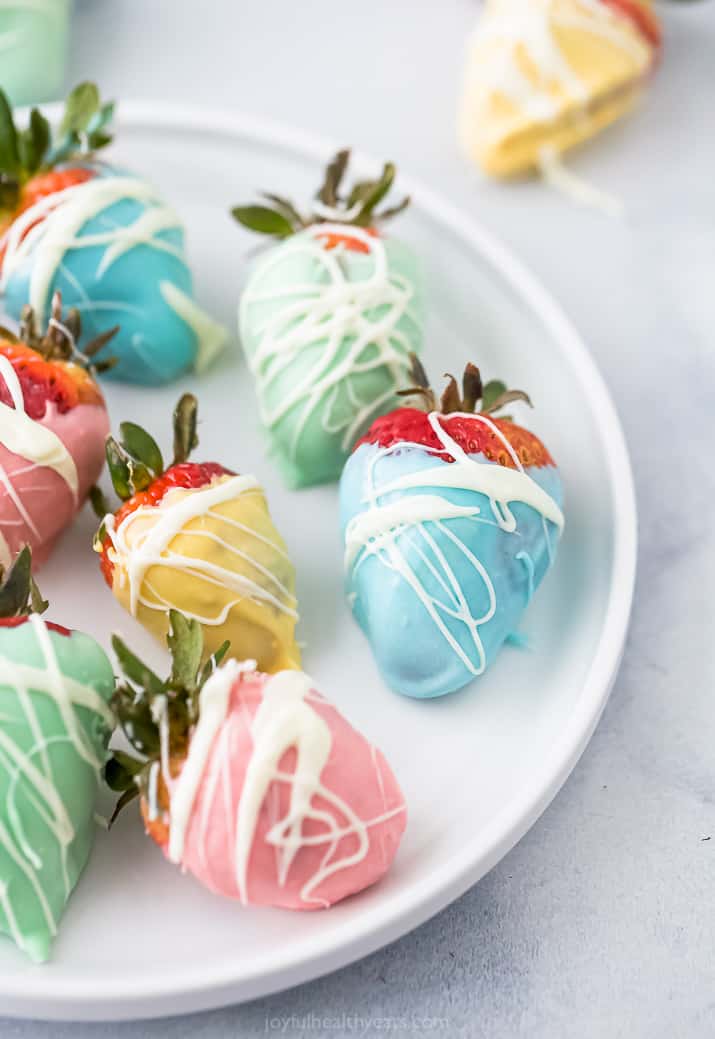
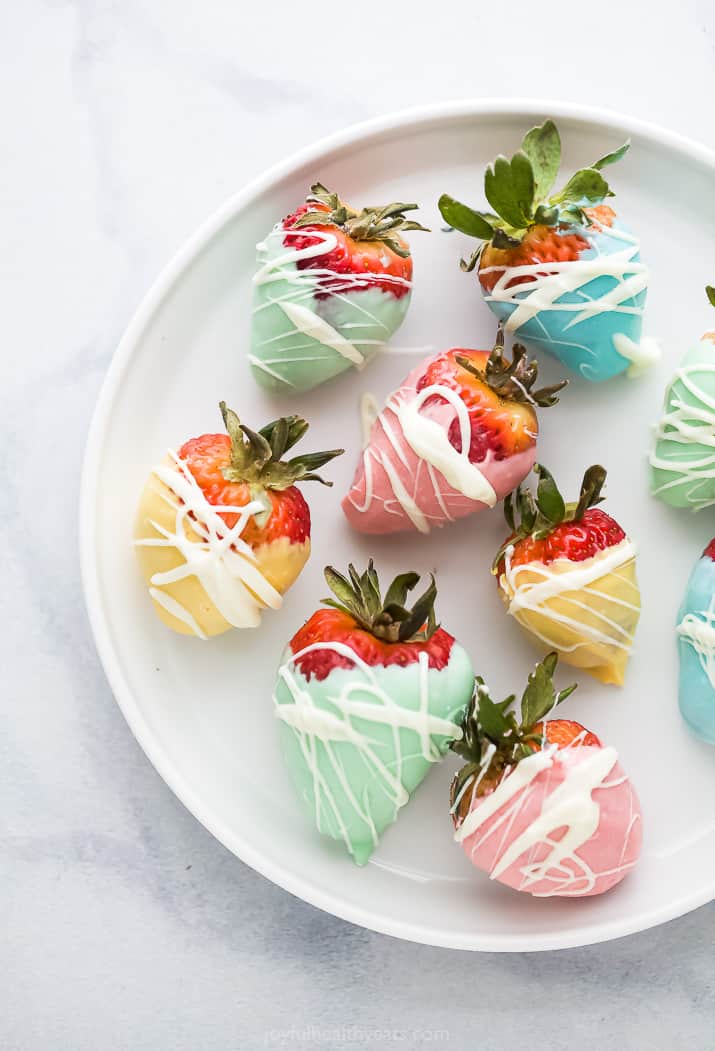
How to make Easter Egg White Chocolate Covered Strawberries using only three ingredients. These chocolate covered strawberries are such a fun festive dessert to make with your kids for Easter!

Table of Contents
- White Chocolate Covered Strawberries
- Ingredients you’ll need for this recipe:
- How to make White Chocolate Covered Strawberries?
- How to store Chocolate Covered Strawberries?
- Can I make Chocolate Covered Strawberries in advance?
- Tips for Chocolate Covered Strawberries
- More Easter Recipes you need to try:
- Get the Recipe
White Chocolate Covered Strawberries
I’m always looking for ways to get my kids into the kitchen. Growing up, my mom had us helping out with everything from beef stroganoff to Creamy Lemon Tarts and I loved it. It’s part of where my love for cooking came from. I want that same love for my kids. They help me with everything – from dinner, to baking and especially the “fun stuff.” Like these Easter Egg Chocolate Covered Strawberries.
These strawberries are a such a fun DIY project to do with the kids for Easter. You only need 3 ingredients and creative eager helpers to make these treats a reality.
Ingredients you’ll need for this recipe:
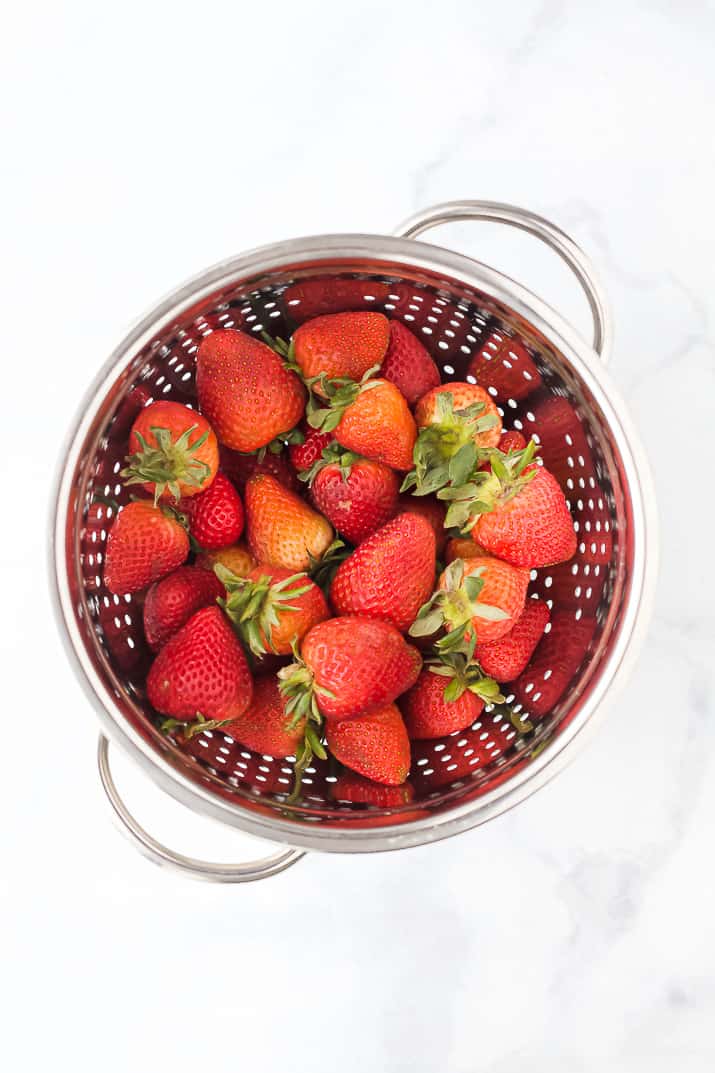
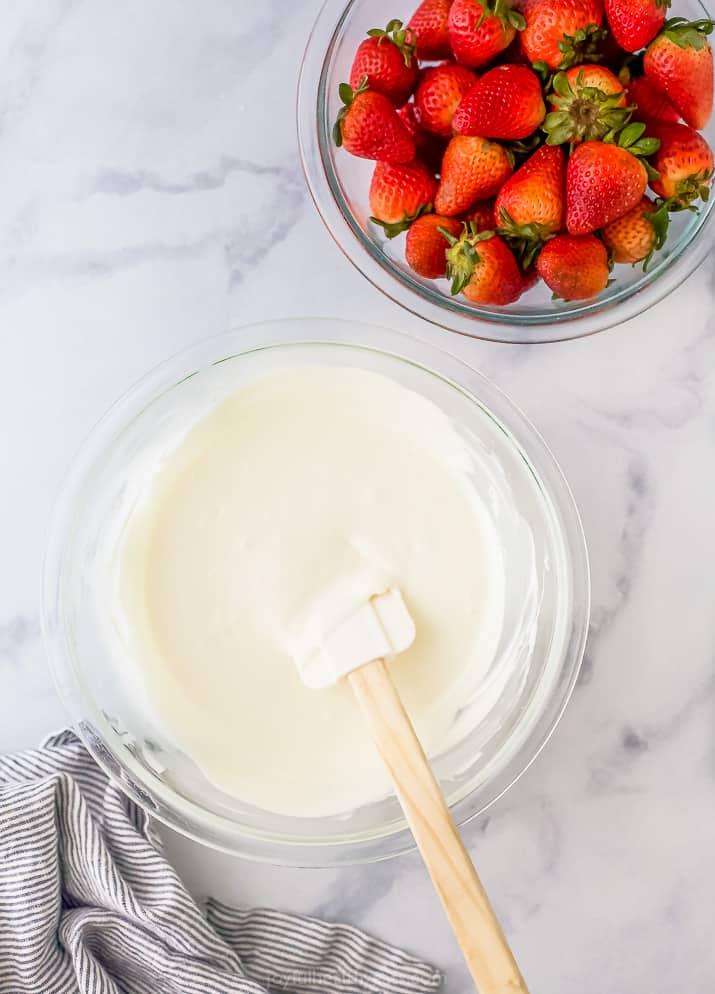
- Strawberries – You can’t have chocolate covered strawberries without the strawberries. Be sure to leave them whole so you have some green color from the stem on top. The stem also gives you something to grab to dunk the strawberries in the chocolate.
- White Chocolate – I like to buy melting chocolates for a smooth creamy finish. Ghirardelli is my favorite brand and gives you that rich white chocolate taste.
- Gel Food Coloring – Just buy a basic package of mixed gel food coloring so you can make fun pastel easter egg colors. If you want to use more natural coloring you could use beet root or turmeric (be aware if might change the flavors).
How to make White Chocolate Covered Strawberries?
This is not rocket science. You’ll melt the chocolate, dunk the strawberries, let them rest and devour. I’d recommend having all of your ingredients and cooling station lined up. Once you start making the chocolate covered strawberries it will go fast. Here’s how to make them:
- Prep Cooling Station: Cover a baking sheet with parchment paper. Set aside.
- Wash & Dry Strawberries: Make sure to wash all the dirt off your strawberries and pat each one dry with a paper towel or kitchen. This will help the chocolate adhere to the strawberry.
- Melt Chocolate: Place melting chocolate wafers in microwave safe bowl. Microwave on high in 30 second increments until chocolate is silky smooth.
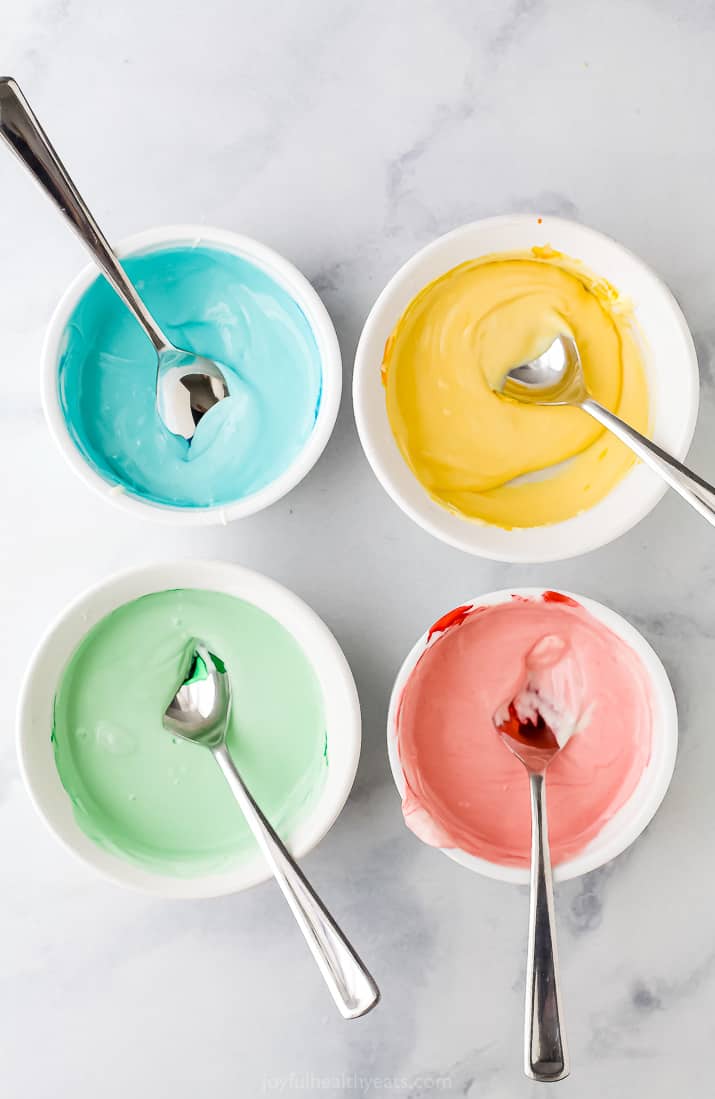
- Mix your Pastel Colors: Separate the melted white chocolate into 4 ramekin bowls. Add food coloring to each bowl in the colors you would like. (I did pastel yellow, pastel green, pastel blue, and pastel pink)
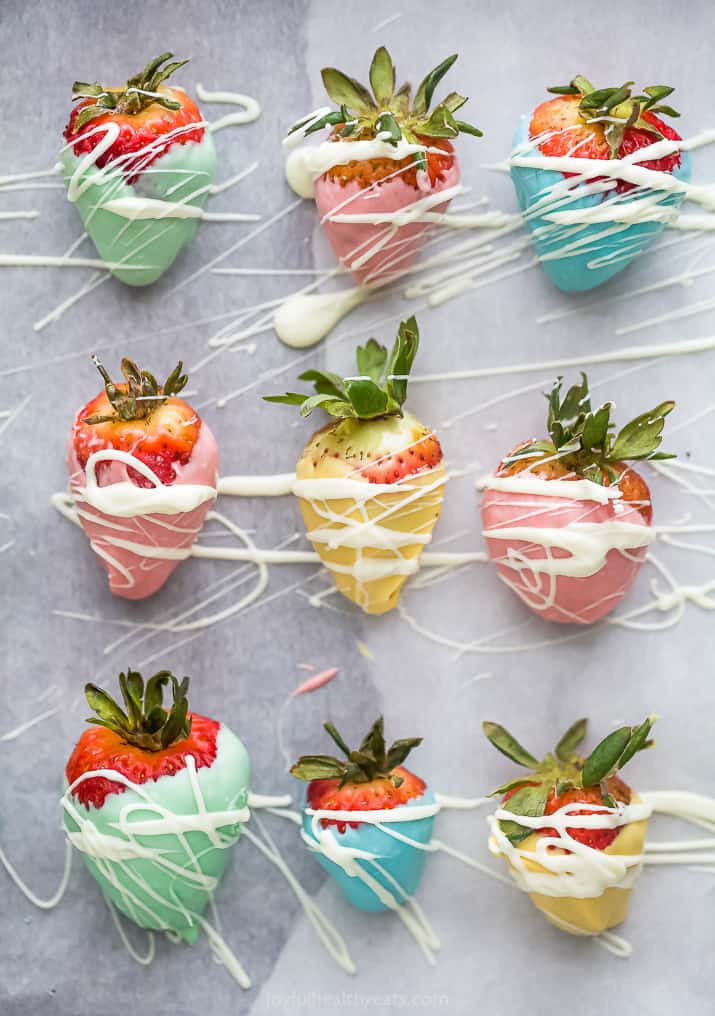
- Dunk ’em: Holding onto the stem, gently dunk strawberries in chocolate and place on lined baking sheet to hardened.
- Drizzle: Optional, if you want a fun twist. Melt a little big more white chocolate and lightly drizzle on top of each easter egg chocolate covered strawberry.
How to store Chocolate Covered Strawberries?
Chocolate Covered Strawberries are best when they are fresh or eaten the same day. Do not store in the refrigerator, this will cause them to release moisture and sweat. I usually keep them in a cool area on the counter somewhere, uncovered. If strawberries are stored longer than a day they will start to release moisture and get mushy.
Can I make Chocolate Covered Strawberries in advance?
Yes. You could make them a couple of hours in advance. This will allow time for the chocolate to harden. Store in a cool dry place and leave them uncovered.
Tips for Chocolate Covered Strawberries
- If you want that perfect chocolate covered strawberry I’d recommend sticking two toothpicks into the top of the strawberry by the stem and swirling in the chocolate. This will keep the stem intact instead of breaking off and will give you that perfect circle of chocolate.
- DO NOT let your strawberries sit overnight in the refrigerator. If you want to have that crisp fresh strawberry bite, you need to make these chocolate covered strawberries the day off. The longer they sit the more they release moisture and get mushy.
- Sometimes the white chocolate will harden after you add food coloring to it. The cold and hot fusion can react that way at times. Just pop your colored chocolate back into the microwave for another 20 seconds, stir and you’re good to go. (this works with the melting wafers)
- If you’re not using chocolate melting wafers for your dunking chocolate, I’d recommend adding a 1/2 tablespoon of coconut oil to your chocolate. This will ensure a smooth silky chocolate that will coat the strawberries well.
More Easter Recipes you need to try:
- Hummingbird Cake with Cream Cheese Frosting
- Oat Carrot Cake Muffins
- Easy Ham & Cheese Mini Quiches
- Smoked Salmon Cucumber Tea Sandwiches
- Gluten Free Lemon Poppyseed Scones with a Lemon Glaze
- Cheesy Bacon Spinach Frittata
Easter Egg Chocolate Covered Strawberries Recipe
- Prep Time: 15 minutes
- Cook Time: 2 minutes
- Total Time: 17 minutes
- Yield: 15 –16 strawberries 1x
- Category: Dessert
- Method: Microwave
- Cuisine: American
Description
How to make Easter Egg White Chocolate Covered Strawberries using only three ingredients. These chocolate covered strawberries are such a fun festive dessert to make with your kids for Easter!
Ingredients
- 15 –16 fresh strawberries, washed and patted dry
- 1 lb. of white melting chocolate
- gel food coloring
Instructions
- Cover baking sheet with parchment paper.
- Place melting chocolate in microwave safe bowl for 1 minute. Stir and place back in microwave for 30 seconds at a time until chocolate is smooth.
- Separate melted chocolate into 4 bowls. Add food coloring to each bowl in the colors you would like. (I did pastel yellow, pastel green, pastel blue, and pastel pink)
- Dunk the strawberries in the desired chocolate color and place on lined baking sheet to hardened.
- Place in refrigerator for 1-2 hours and serve!
Notes
Important: If strawberries are not dry the chocolate will harden up quickly and it will NOT stick to the strawberries. MAKE SURE THE STRAWBERRIES ARE DRY.
Filed Under:
DON’T MISS A RECIPE
FACEBOOK | TWITTER | PINTEREST | BLOGLOVIN | INSTAGRAM









25 comments on “Easter Egg Chocolate Covered Strawberries Recipe”
this is Amazing We need to know more about it but I just need to ask. Is this okay for health?
This is so festive not only for Easter but for Spring in general! I don’t know why I never thought of adding food coloring to my white chocolate. Amazing!
I have my moments of genius … 🙂 Glad you liked them Connie! Hope you get a chance to make them this weekend! 🙂
These are so freaking cute! If I switch from my mini egg consumption to these, can I call this a healthy switch? I mean…fruit!
Umm… heck yes you can. I might do it this year!
Great idea. Making these for Easter for sure. One of my kiddos is allergic to eggs so I’ve been looking for something special to do for Easter instead of coloring eggs. Thanks!
Awesome! then this is a perfect substitute Cathy and will taste WAY better than eggs! 🙂
These are so cute! I want some!
Also, I feel your pain. I potty trained 2 boys with no problems. My third is DRIVING ME INSANE with it and I have no idea what to do.
ugh… boys!! I totally got sprayed the other day … right after I got out of the shower. Clean and then instantly not clean!
Hope you get a chance to make them!
What a lovely idea for Easter or a springtime party. They are so pretty! Hang in there with the potty training. It’s not easy but the hardest part is in the beginning. I’m sure your son will understand soon and just remember that all kids become potty trained eventually 🙂
He’s already doing so great, telling me when he needs to go. Definitely the occasional accident but thats ok. 🙂 Thanks so much Joanie!
Who can resist strawberries and chocolate? What a great treat for Easter!
Right! thanks Abigail!
What a great idea!!!
Thanks!
Good luck with the potty training girl! It can be a long road… These strawberries look beautiful and so much fun for the holiday!
yes, I am learning that. 🙂 He has already done so much better even after I wrote this post! 🙂
Glad you liked the strawberries!
These strawberries are so cute! How perfect are they for Easter. LOVE!
haha… thanks girl! I wanted a change up from the regular egg dying ya know. 🙂
These are absolutely adorable. I fun way to deal with the stress of potty training. Hang in there. They all get it eventually.
Thanks christie, for the sweet comments AND encouragement! 🙂
These are so beautiful, what a lovely idea for spring and Easter!
Thanks so much Heather!
This is the cutest, easiest, easter idea Krista! I’m considering skipping dying easter eggs and making these instead!!
woohooo!!! thats the goal! 🙂